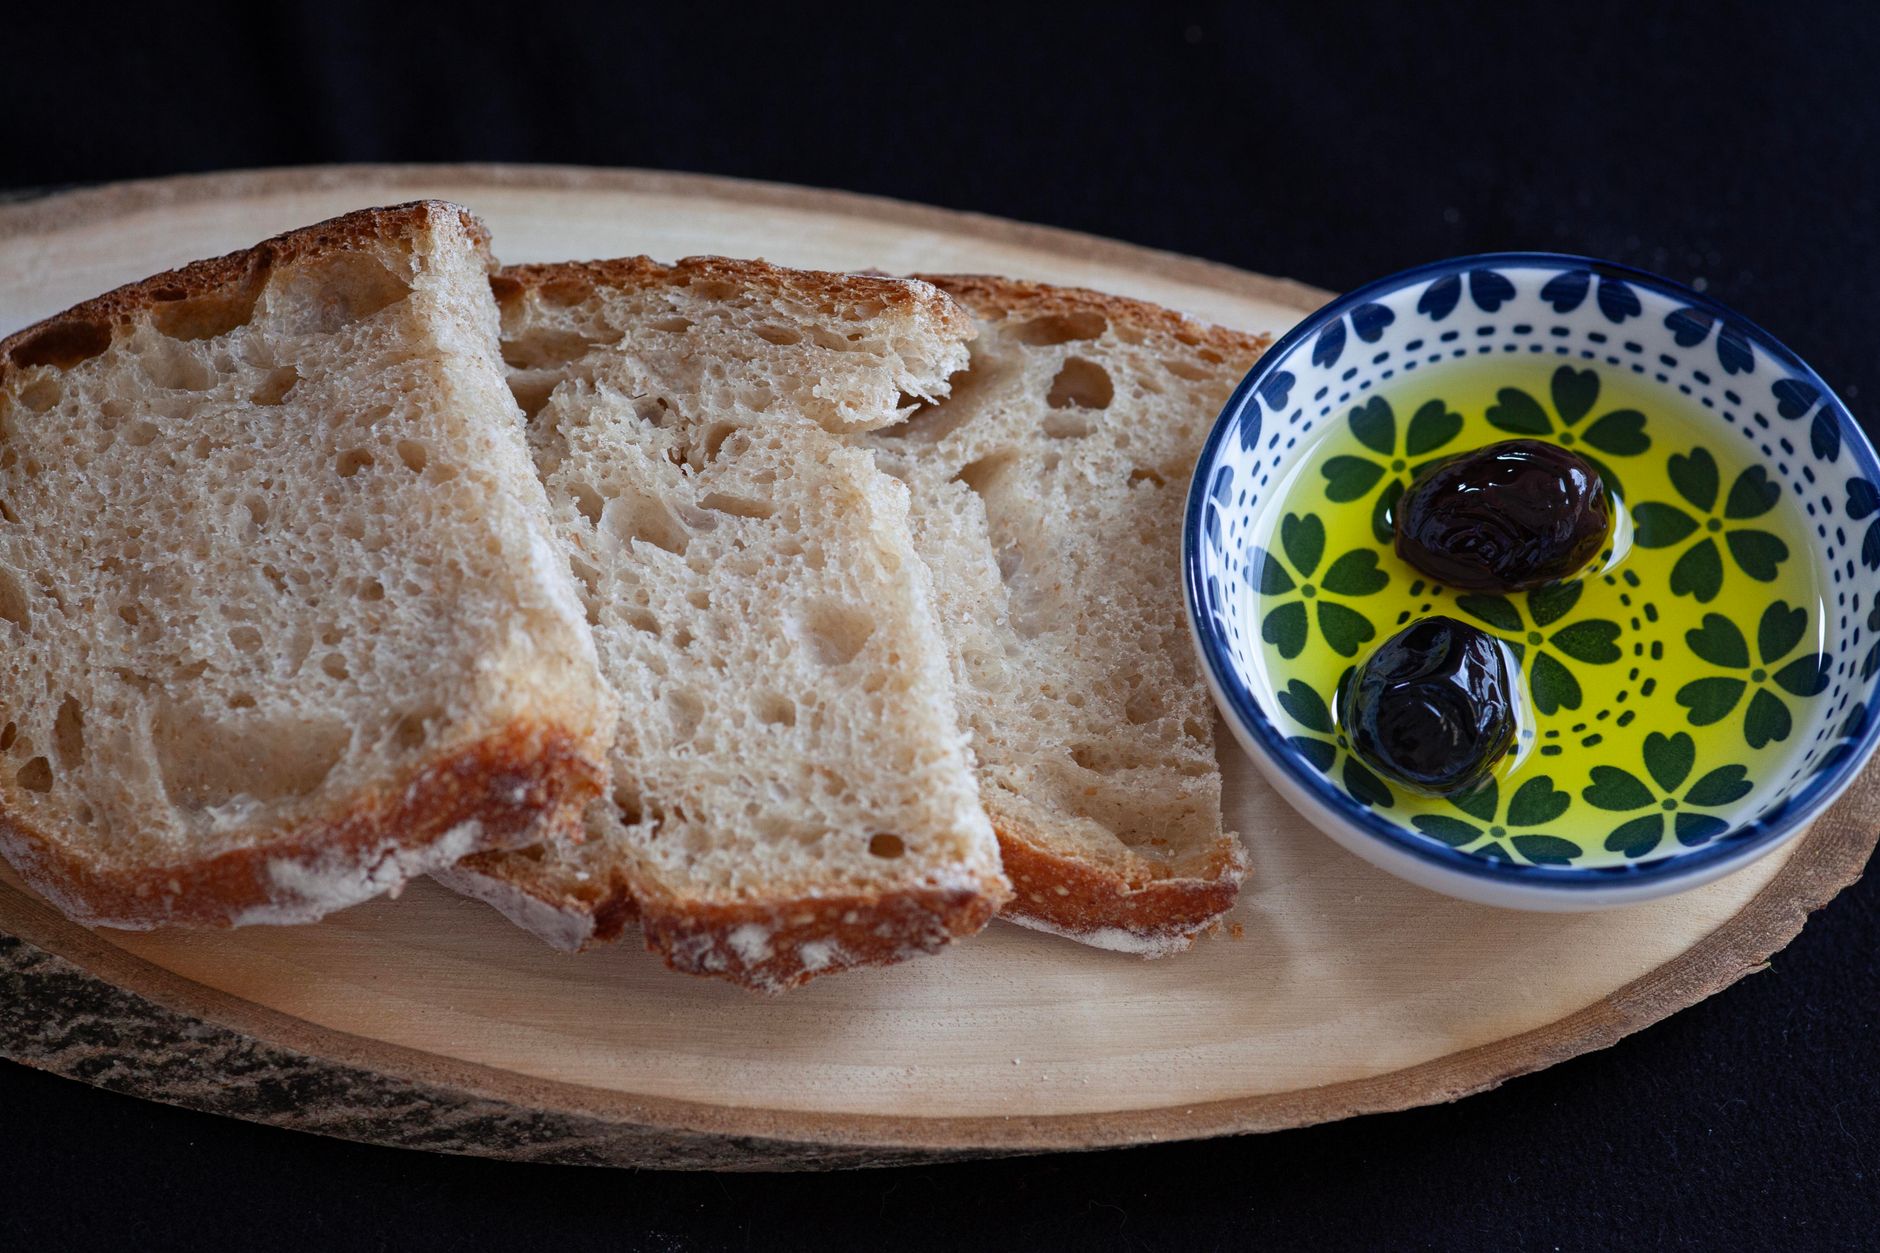
How to Make Sourdough Bread Starter: Your Expert Guide
how to make sourdough bread starter

How to Make Sourdough Bread Starter: Your Expert Guide

Embark on a rewarding culinary journey by cultivating your own thriving sourdough starter from scratch.

Start Your Sourdough Journey!

Key Takeaways

  • ✓ A sourdough starter is a living culture of wild yeast and bacteria.
  • ✓ It requires only flour and water to create.
  • ✓ The process typically takes 5-7 days to establish a robust starter.
  • ✓ Regular feeding (flour and water) is essential for its health and activity.

How It Works

1
Initial Mix

Combine equal parts flour and water to begin cultivating wild yeasts present in the environment. This initial mixture kickstarts the fermentation process.

2
Daily Feeding

Discard a portion of the starter and feed it fresh flour and water daily. This provides new nutrients and maintains a balanced microbial environment.

3
Observation & Patience

Watch for signs of activity like bubbles, a sour smell, and rising. Patience is key, as the starter's strength develops over several days.

4
Maturation & Use

Once consistently active, bubbly, and able to double in size, your starter is ready for baking. It can then be maintained in the refrigerator with less frequent feedings.

The Science Behind a Vibrant Sourdough Starter Culture
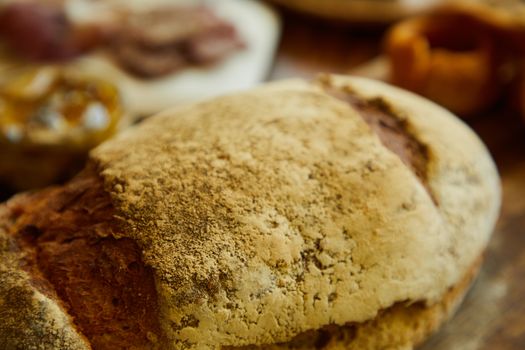
Freshly baked artisanal bread loaf with a rustic crust in a bakery setting. Photo: Laker / Pexels
Creating a sourdough starter is a fascinating venture into microbiology, harnessing the power of wild yeasts and lactic acid bacteria (LAB) naturally present in flour and the air around us. Unlike commercial yeast, which is a single strain, a sourdough starter is a complex ecosystem. When you combine flour and water, you’re providing a nutrient-rich environment for these microscopic organisms to thrive. The wild yeasts consume sugars in the flour, producing carbon dioxide gas (which makes bread rise) and alcohol. Simultaneously, LAB convert sugars into lactic and acetic acids, which give sourdough its characteristic tangy flavor and improve the bread’s keeping qualities. This symbiotic relationship is crucial; the acids produced by the bacteria inhibit the growth of undesirable molds and bacteria, creating a stable and healthy culture. The flour you choose plays a significant role here. Whole wheat or rye flour often contain a higher concentration of wild yeasts and nutrients, which can accelerate the initial activation of your starter. Many bakers prefer to begin with whole grain flours for this very reason, transitioning to all-purpose or bread flour once the starter is well-established. The water quality is also important; unchlorinated, filtered water is ideal, as chlorine can inhibit microbial growth. Tap water that has been left out for 24 hours can often dissipate enough chlorine to be suitable. Temperature is another critical factor. A warm environment (ideally between 70-80°F or 21-27°C) encourages faster and more vigorous fermentation. In colder conditions, the process will be slower, requiring more patience. Understanding these basic scientific principles helps you troubleshoot common issues and ensures you're providing the best possible conditions for your starter to flourish. It’s not just about mixing ingredients; it’s about nurturing a living organism. The beauty of sourdough lies in this natural leavening process, which not only gives bread its unique taste and texture but also makes it more digestible for some individuals. For more on the benefits of fermentation, explore this guide to fermented foods.

Gathering Your Essential Tools and Ingredients
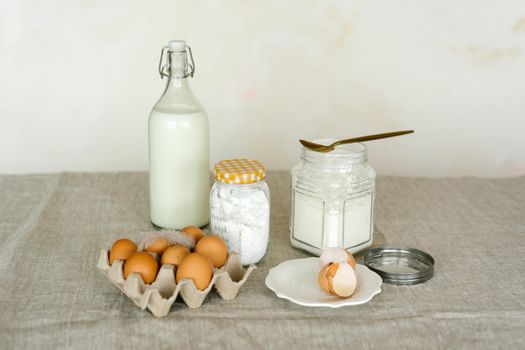
A rustic display of baking ingredients including eggs, milk bottle, and flour on a linen surface. Photo: Mikhail Nilov / Pexels
Before you embark on the journey of how to make sourdough bread starter, ensuring you have the right tools and high-quality ingredients will set you up for success. The good news is, you don't need much, and most items are likely already in your kitchen. First and foremost, you'll need a suitable container. A glass jar, such as a wide-mouth Mason jar (pint or quart size), or a clear plastic container with a lid, is ideal. Glass allows you to easily observe the activity of your starter – the bubbles, the rise, and the fall. Avoid metal containers, as some metals can react with the acids in the starter over time. The lid shouldn't be airtight; you want to allow some airflow while keeping out dust and pests. A loosely fitted lid, a piece of plastic wrap with a few holes poked in it, or even a breathable cloth secured with a rubber band will work perfectly. Next, you'll need a digital kitchen scale. This is arguably the most important tool for consistent sourdough baking. Measuring ingredients by weight rather than volume (cups) ensures accuracy, which is crucial for maintaining the delicate balance of your starter. Flour density can vary, so 1 cup of flour by volume can be vastly different in weight depending on how it's packed. A scale eliminates this variability. For mixing, a small spatula or spoon made of silicone or wood is best. Avoid metal if possible, though brief contact won't harm your starter. Beyond tools, the ingredients are simple: flour and water. For flour, a good quality unbleached all-purpose flour or bread flour is a great starting point once your starter is established. However, for the initial creation, many experienced bakers recommend using whole wheat or rye flour. These flours are richer in natural microbes and nutrients, which can help kickstart the fermentation process more quickly and robustly. If you only have all-purpose, that’s fine, it might just take an extra day or two. As for water, unchlorinated water is paramount. Chlorine can inhibit the growth of the beneficial bacteria and yeasts you’re trying to cultivate. Filtered water, spring water, or tap water that has been left out uncovered for at least 24 hours to allow the chlorine to evaporate are all excellent choices. Avoid distilled water, as it lacks the minerals that yeasts need to thrive. With these simple items ready, you're prepared to begin your sourdough adventure, laying the foundation for countless loaves of delicious, homemade bread. Having these essentials on hand eliminates guesswork and ensures a smoother, more successful starter creation process.

Your Step-by-Step Guide to Activating a Robust Starter
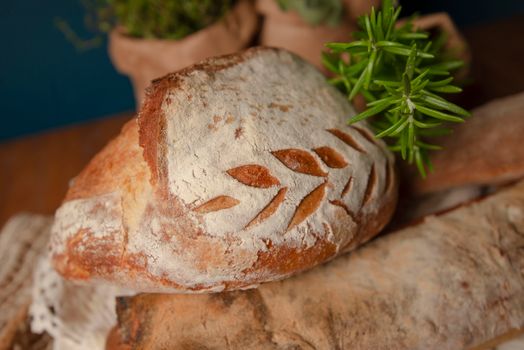
Close-up of artisan bread with a leaf design, accompanied by fresh rosemary sprigs. Photo: Natalia Olivera / Pexels
The process of how to make sourdough bread starter is a journey of daily observation and consistent care. Let's break it down day by day. **Day 1: The Inaugural Mix.** In your clean glass jar, combine 50 grams of whole wheat or rye flour with 50 grams of unchlorinated water. Mix thoroughly with a spatula or spoon until no dry pockets of flour remain. The mixture should have a thick, pasty consistency. Cover the jar loosely with a lid, plastic wrap, or a breathable cloth, and place it in a warm spot, ideally between 70-80°F (21-27°C). A kitchen counter out of direct sunlight is usually perfect. **Day 2: First Signs.** You might not see much activity yet, and that’s completely normal. The microbes are just beginning to wake up. Discard half of your starter (about 50 grams), then feed the remaining 50 grams with 50 grams of fresh flour (you can switch to all-purpose or bread flour now if you like, or continue with whole grain) and 50 grams of unchlorinated water. Mix well, cover loosely, and return to its warm spot. **Day 3-5: The Awakening.** This is where things usually get interesting. You should start to see small bubbles forming on the surface and throughout the mixture. It might also develop a slightly sour or yeasty smell. The starter might rise slightly and then fall, indicating activity. Continue the feeding routine: discard half (50g), feed 50g fresh flour, 50g fresh water. Repeat daily. If you see a thin, dark liquid (called 'hooch') on top, don't worry, it's a sign your starter is hungry; simply pour it off before feeding. **Day 6-7: Peak Performance.** By now, your starter should be consistently active. It should double in size within 4-8 hours after feeding, be very bubbly, and smell pleasantly yeasty and sour, like fermented fruit or yogurt. To test its readiness, perform the 'float test': drop a small spoonful of starter into a glass of water. If it floats, it's active and ready to bake with! If it sinks, it needs more time and feedings. Continue daily feedings until it reliably floats. Once your starter is consistently active and passes the float test, it's considered mature and ready for baking. You can now transition to maintaining it. If you bake frequently, you can keep it on the counter with daily feedings. If you bake less often, store it in the refrigerator and feed it once a week. Remember, consistency in feeding and observation are your best allies in cultivating a vibrant starter. For more advanced baking techniques, check out this guide to artisan bread baking.

Common Pitfalls and Troubleshooting Your Sourdough Starter

Close-up of artisan bread with a leaf design, accompanied by fresh rosemary sprigs. Photo: Natalia Olivera / Pexels
Even with the best intentions, your sourdough starter might encounter some hiccups. Don't despair; most problems are easily fixable. One of the most common issues is a slow or inactive starter. If your starter isn't bubbling or rising after several days, consider the temperature. Is it too cold? Moving it to a warmer spot (75-80°F is ideal) can significantly speed up activity. You can use a proofing box, an oven with the light on (but off!), or even a warm spot near a radiator. Another factor could be your flour or water. Ensure you're using unbleached flour and unchlorinated water. Sometimes, switching to a whole grain flour for a few feedings can give a sluggish starter a boost due to the higher nutrient content. A thin, dark liquid called 'hooch' forming on top is a sign of hunger. It means your starter has consumed all available food. Simply pour it off, and then proceed with your regular feeding. If the hooch is pink or orange, however, it's a sign of undesirable bacteria, and it's best to discard the starter and begin anew to avoid any health risks. A common mistake is feeding too much or too little. Consistent ratios (e.g., 1:1:1 starter:flour:water by weight) are crucial. Over-feeding can dilute the microbial population, while under-feeding can starve it. If your starter smells like nail polish remover or very strong alcohol, it's over-fermented and very hungry. Increase feeding frequency or store it in a cooler place to slow down fermentation. Mold is a serious concern. If you see any fuzzy, colored spots (black, green, pink, etc.), unfortunately, you must discard the entire starter. Mold spores can penetrate deep into the culture, making it unsafe. Prevention is key: always use clean jars and utensils, and ensure your lid allows airflow but keeps out contaminants. Lastly, don't be discouraged by initial failures. Every sourdough starter is unique, influenced by its environment. Learning to 'read' your starter – understanding its smells, textures, and activity – is part of the rewarding process. Persistence and careful observation will eventually lead you to a thriving, bubbly culture ready to make delicious bread. Remember, consistency is key, and a little patience goes a long way.

Comparison

FeatureHomemade Sourdough StarterCommercial Dry YeastSourdough Starter from Friend
CostVery Low (flour & water)Low (packet cost)Free (if shared)
Time to Activate5-7 DaysMinutes1-2 Days (if dormant)
Flavor ProfileComplex, Tangy, UniqueNeutralComplex, Varies by source
Maintenance RequiredYes (daily/weekly feeding)NoneYes (daily/weekly feeding)
Health Benefits✓ (Probiotics, digestibility)✓ (Probiotics, digestibility)
IngredientsFlour, WaterYeast CultureFlour, Water, Existing Culture

What Readers Say

"This guide made how to make sourdough bread starter so easy! I followed the steps, and by day 6, I had a super active starter. My first loaf of bread was incredible, far better than anything I've bought."

Sarah J. · Austin, TX

"I'd tried making a starter before and failed, but the detailed day-by-day instructions here were a game-changer. My starter is now a bubbly, happy pet, and I'm baking weekly. Highly recommend this approach."

Mark P. · Seattle, WA

"After reading this article, I successfully created my first sourdough starter. Within a week, it was doubling in size and passing the float test consistently. I've now baked three perfect loaves of sourdough bread!"

Emily R. · Denver, CO

"The instructions on how to make sourdough bread starter were very clear, though my starter took a bit longer to get going due to my cooler kitchen. The troubleshooting section was incredibly helpful when I saw some hooch."

David L. · Miami, FL

"As a busy mom, I appreciated the straightforward advice. My starter is now thriving in the fridge, and I pull it out once a week for delicious family breakfasts. This guide made it approachable and fun."

Jessica M. · Chicago, IL

Frequently Asked Questions

What kind of flour is best to start a sourdough starter?

Whole wheat or rye flour is often recommended for initial activation because they contain more wild yeasts and nutrients, which can kickstart the fermentation process more quickly and robustly. Once active, you can switch to unbleached all-purpose or bread flour for maintenance.

My starter isn't bubbling, is it dead?

Not necessarily! Lack of bubbles can be due to temperature (too cold), insufficient feeding, or chlorinated water. Try moving it to a warmer spot, ensuring consistent feedings, and using filtered water. Patience is key; it can take several days for activity to become visible.

How do I know when my sourdough starter is ready to use?

A mature starter will consistently double in size within 4-8 hours after feeding, be very bubbly throughout, and smell pleasantly sour and yeasty. The most reliable test is the 'float test': drop a small spoonful into water; if it floats, it's ready to bake with.

Is it expensive to make and maintain a sourdough starter?

No, it's incredibly inexpensive! The only ingredients required are flour and water, which are staple pantry items. The initial investment is minimal, and ongoing maintenance simply involves using a small portion of these affordable ingredients for regular feedings.

How does a homemade sourdough starter compare to commercial yeast?

A homemade sourdough starter provides a complex flavor profile (tangy, nuanced) and contributes to better texture and digestibility due to its wild yeast and bacteria. Commercial yeast offers a consistent, neutral flavor and rapid rise but lacks the depth and probiotic benefits of sourdough.

Who should consider making a sourdough starter?

Anyone passionate about baking, interested in natural fermentation, or looking to elevate their homemade bread to an artisan level should absolutely consider making a sourdough starter. It's also great for those seeking more digestible bread options.

What if I see mold on my sourdough starter?

If you see any fuzzy, colored mold (black, green, pink, etc.), you must discard the entire starter immediately. Mold spores can penetrate deeply, making the starter unsafe for consumption. Always ensure clean jars and proper covering to prevent mold growth.

What are the future trends for sourdough baking?

The future of sourdough baking is leaning towards exploring diverse grain varieties (e.g., ancient grains), experimenting with different hydration levels for unique textures, and a continued focus on its health benefits, including enhanced digestibility and nutrient availability. Expect more specialized starter cultures and advanced techniques for home bakers.

Mastering how to make sourdough bread starter is more than just a recipe; it's an embarkation on a rewarding culinary journey. With patience and consistent care, you'll cultivate a vibrant, living culture that will transform your home baking. Begin your sourdough adventure today and savor the unparalleled flavor and satisfaction of homemade artisan bread.

Topics: how to make sourdough bread startersourdough starter recipenatural leavenwild yeast culturebaking sourdough at home
Leo List
Brampton weed
Adultwork EstrelaBet Vai de Bet R7 Bet Betão Galera Bet Rainbet Bet9ja Shop SportyBet BetKing Sisal Loto Foot Hollywoodbets YesPlay Odibets RushBet Jugabet BetWarrior BetCity MSport betPawa Fortebet