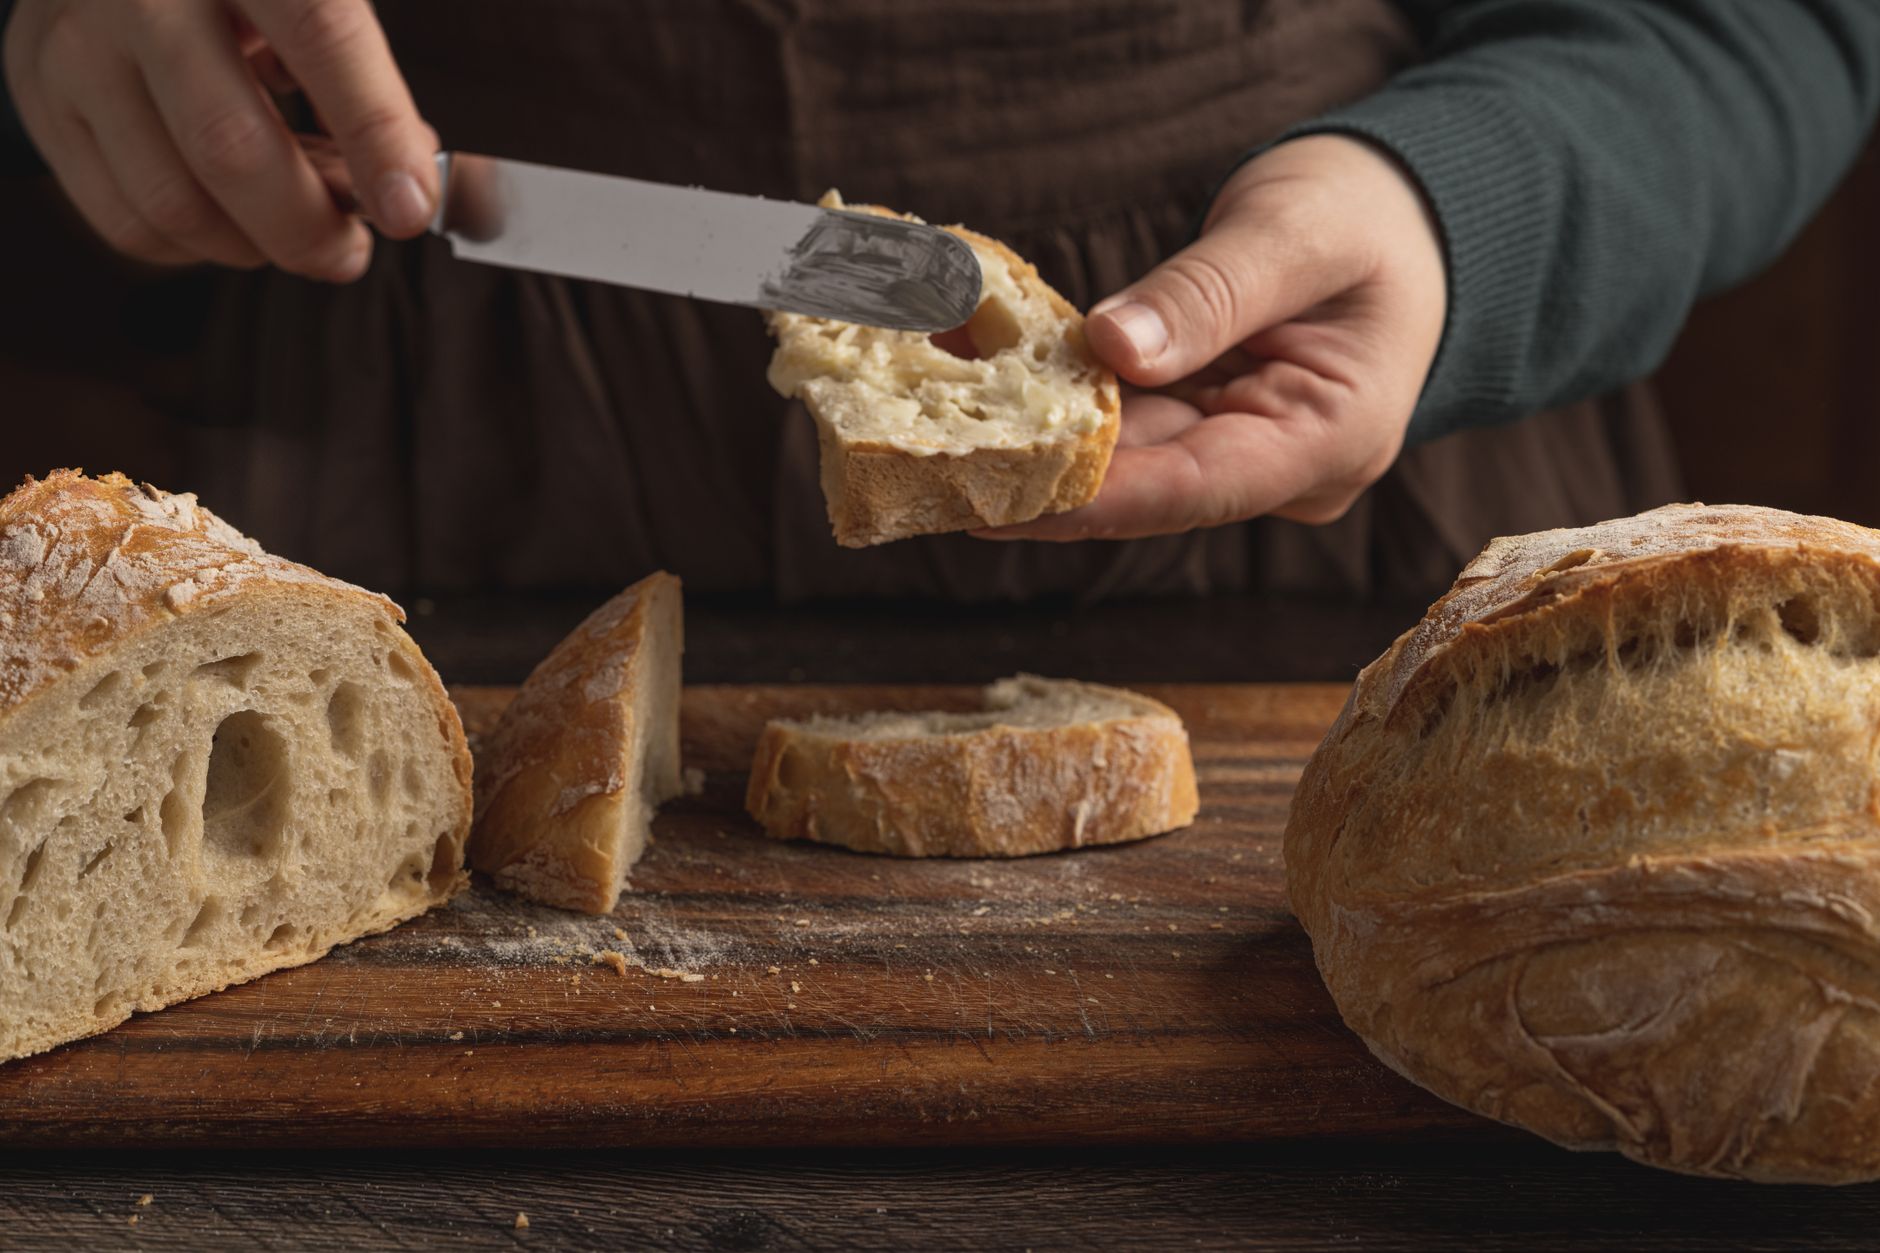
How to Make Sourdough Bread at Home: Your Ultimate Guide
sourdough bread at home

How to Make Sourdough Bread at Home: Your Ultimate Guide

Transform your kitchen into a bakery and master the art of naturally leavened, crusty, and delicious sourdough.

Start Baking Today!

Key Takeaways

  • ✓ Sourdough relies on a 'starter,' a fermented mixture of flour and water, for leavening.
  • ✓ Patience is key; the process takes time but yields superior flavor and texture.
  • ✓ Hydration levels significantly impact the dough's workability and the final crumb.
  • ✓ Dutch ovens are highly recommended for achieving a perfect crust and crumb at home.

How It Works

1
Cultivate or Acquire Your Starter

The heart of sourdough, your starter, needs to be active and bubbly. You can grow one from scratch with flour and water, or obtain one from a friend or bakery.

2
Mix and Autolyse the Dough

Combine flour and water and let it rest (autolyse) to allow the flour to fully hydrate. This step develops gluten and makes the dough easier to work with later.

3
Bulk Fermentation with Folds

Introduce your active starter and salt, then perform a series of gentle 'stretch and folds' over several hours. This builds strength and incorporates air into the dough.

4
Shape, Proof, and Bake

Gently shape your dough, then cold proof it overnight in the refrigerator for flavor development. Finally, bake it in a preheated Dutch oven for that coveted crust and open crumb.

Understanding the Sourdough Starter: Your Living Leavening Agent

Before you can truly master how to make sourdough bread at home, you must first understand and respect its very heart: the sourdough starter. This seemingly simple mixture of flour and water is, in fact, a thriving ecosystem of wild yeasts and lactobacilli. These microorganisms are responsible for the magic that transforms humble ingredients into a flavorful, airy loaf, giving sourdough its characteristic tang and chew. Unlike commercial yeast, which provides a rapid, predictable rise, a sourdough starter works slower, breaking down starches and proteins in the flour, which not only leavens the bread but also enhances its digestibility and nutritional profile. Cultivating your own starter from scratch is a rewarding journey, typically taking about 5-7 days. It involves regularly feeding a small portion of flour and water to a mixture, discarding most of it, and watching it come to life. You'll observe bubbles, a yeasty-sour aroma, and a noticeable rise and fall after feeding. A healthy, active starter is crucial for successful baking. It should consistently double in size within 4-8 hours after being fed, depending on ambient temperature and flour type. If your starter is sluggish, it might need more frequent feedings, a warmer environment, or a different type of flour (rye or whole wheat often give it a boost). Many bakers maintain their starters at room temperature if they bake frequently, feeding it daily. For less frequent bakers, storing it in the refrigerator slows down its activity, requiring feeding only once a week or so. Remember to take it out and feed it a few times to revive its full strength before you plan to bake. This living ingredient is sensitive to temperature, flour type, and hydration, so observing its behavior is key. It's not just about following a recipe; it's about learning to read your starter. When it's strong and active, it will float when a small piece is dropped into water, indicating it's ready to work its magic in your dough. This foundational step is arguably the most important in your journey to make sourdough bread at home, as a weak starter will inevitably lead to a dense, underdeveloped loaf. For more on maintaining this vital ingredient, check out our guide on sourdough starter care. Understanding the nuances of your starter will set you up for consistent success and truly delicious bread.

The Art of Mixing, Autolyse, and Bulk Fermentation for Homemade Sourdough

Once your starter is robust and ready, the next phases—mixing, autolyse, and bulk fermentation—are where the dough truly begins to take shape and develop its structure. These steps are fundamental to achieving the open, airy crumb and chewy texture characteristic of great sourdough bread. The process starts with the autolyse, a simple yet powerful technique where you mix only the flour and water for your dough and let it rest for 30 minutes to an hour. This resting period allows the flour to fully hydrate, enzymes to begin breaking down starches into sugars (which the yeast will later consume), and gluten development to start naturally without any mechanical work. The result is a more extensible, less sticky dough that’s easier to handle and requires less kneading, setting the stage for perfectly structured bread as you learn how to make sourdough bread at home. After the autolyse, it's time to incorporate your active sourdough starter and salt. The starter is gently mixed in, often by hand, ensuring it's evenly distributed throughout the dough. Salt, while seemingly simple, plays a critical role; it not only enhances flavor but also strengthens the gluten network and regulates fermentation. Without salt, your dough would be slack and difficult to manage. Following the initial mix, the dough enters its bulk fermentation phase, also known as the first rise. This is a crucial period, typically lasting 3-6 hours at room temperature (around 72-78°F or 22-26°C), during which the yeast and bacteria in your starter consume sugars, produce gases, and develop flavor. During bulk fermentation, you'll perform a series of 'stretch and folds.' This technique involves gently stretching a portion of the dough upwards and folding it over itself, then rotating the bowl and repeating. Typically, you'll do 4-6 sets of these folds, spaced 30-45 minutes apart, during the first 2-3 hours of bulk fermentation. These folds serve multiple purposes: they strengthen the gluten network, evenly distribute the yeast activity, incorporate air, and regulate the dough's temperature. The dough will become noticeably smoother, more elastic, and increase in volume as bulk fermentation progresses. The exact duration of bulk fermentation depends on several factors, including the strength of your starter, the type of flour, and the ambient temperature. You're looking for signs of fermentation: increased volume (typically 30-50%), a domed surface, and a jiggly, airy texture. This stage is where much of the bread's internal structure and flavor profile are developed, making it a critical component of learning how to make sourdough bread at home.

Shaping, Cold Proofing, and Baking Your Perfect Sourdough Loaf

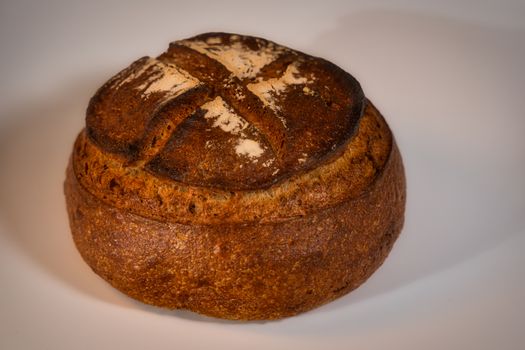
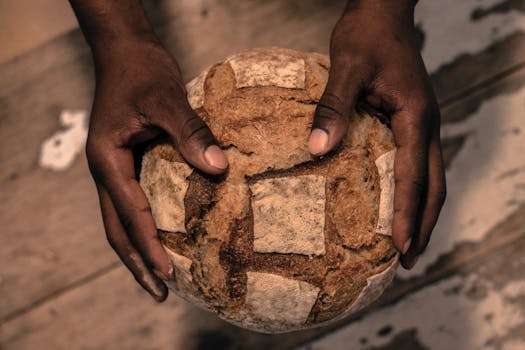
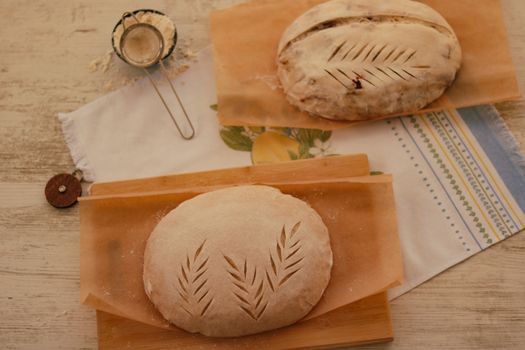
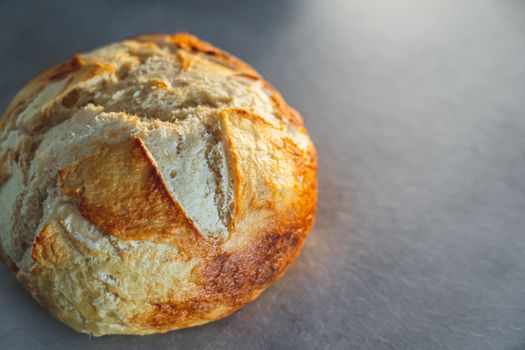
With a well-fermented dough in hand, you're now ready for the final stages that bring your sourdough masterpiece to life: shaping, cold proofing, and baking. These steps are crucial for achieving that iconic crust, open crumb, and deep flavor that defines artisan sourdough. Shaping the dough is not just about aesthetics; it creates surface tension, which helps the loaf hold its structure during baking and prevents it from spreading too much. There are various shaping techniques, but most involve gently coaxing the dough into a round (banneton) or oval (batard) while creating a tight outer skin. You'll typically do a pre-shape, allowing the dough to rest for 20-30 minutes, which relaxes the gluten, followed by a final shape where you build maximum tension. The shaped dough is then placed seam-side up into a floured banneton (or a bowl lined with a floured cloth) to prevent sticking. The next step, cold proofing, is a game-changer for homemade sourdough. Placing the shaped dough in the refrigerator (typically 35-40°F or 2-4°C) for 12-18 hours, or even up to 24-36 hours, slows down fermentation significantly. This extended cold rest allows for deeper flavor development, creating more complex sour notes, and also makes the dough easier to handle. A cold dough is firmer, less sticky, and holds its shape better when transferred to the hot baking vessel. It also contributes to a better 'oven spring' – the rapid expansion of the dough in the initial stages of baking. This cold proofing step is a hallmark of truly exceptional sourdough, giving it an edge in both flavor and texture, and is indispensable when you want to make sourdough bread at home that rivals professional bakeries. For tips on different shaping methods, consult sourdough shaping techniques. Finally, the moment of truth: baking. For the best results, a Dutch oven is highly recommended. Preheat your Dutch oven inside your oven to a very high temperature, usually 450-500°F (230-260°C), for at least 30-60 minutes. The intense initial heat provides incredible oven spring and sets the crust quickly. Carefully transfer your cold, proofed dough from the banneton directly into the screaming hot Dutch oven. Score the top of the dough with a sharp razor blade (lame) – this controls where the steam escapes and creates beautiful patterns. Bake covered for the first 20-25 minutes; the steam trapped inside the Dutch oven keeps the crust moist, allowing the dough to expand maximally. Then, remove the lid and continue baking for another 20-30 minutes, or until the crust is deeply golden brown and the internal temperature reaches 200-210°F (93-99°C). This final uncovered bake develops the thick, crunchy crust we all adore. Allow the bread to cool completely on a wire rack for at least 1-2 hours before slicing to ensure the crumb fully sets and the flavors meld. Patience here is key; slicing too early can result in a gummy texture. Each of these stages, from careful shaping to the precise baking environment, contributes to the overall success and delight of your homemade sourdough loaf.

Common Sourdough Mistakes and Expert Tips for Success

Embarking on the journey of how to make sourdough bread at home is incredibly rewarding, but like any craft, it comes with its own set of challenges. Understanding common pitfalls and arming yourself with expert tips can significantly improve your success rate and minimize frustration. **Common Sourdough Mistakes:** * **Weak or Inactive Starter:** This is perhaps the most frequent culprit behind dense, flat loaves. If your starter isn't consistently doubling in size after feeding, it's not ready to leaven bread. Patience and consistent feeding are key. * **Under-proofed or Over-proofed Dough:** Under-proofed dough often results in a tight, gummy crumb and explosive, uncontrolled oven spring. Over-proofed dough, conversely, loses its structure, becoming slack and often leading to a pancake-like loaf with a dense crumb. Learning to 'read' your dough for signs of proper fermentation takes practice. * **Insufficient Gluten Development:** Not performing enough stretch and folds, or being too rough with the dough, can lead to a weak gluten network. This means the dough can't trap the gases produced by the yeast, resulting in a less airy crumb. * **Not Using a Dutch Oven:** While not strictly mandatory, baking in an open oven without steam often results in a thick, tough crust and less oven spring. The sealed environment of a Dutch oven mimics a professional steam-injected oven. * **Slicing Too Early:** The bread continues to cook and set as it cools. Slicing a warm loaf can lead to a gummy, unpleasant texture and can ruin the internal structure you worked so hard to achieve. **Expert Tips for Sourdough Success:** * **Hydration is Key (and Variable):** Sourdough recipes often specify a hydration percentage. While a higher hydration (more water) generally leads to a more open crumb, it also makes the dough stickier and harder to handle. Start with a moderate hydration (around 70-75%) and gradually increase as you gain experience. Adjust water based on your flour's absorption, as different flours absorb liquids differently. * **Use Good Quality Flour:** The type and quality of flour significantly impact your sourdough. Bread flour with a higher protein content (12-14%) provides better gluten development. Organic flours can also contribute to a more active starter and better flavor. Experiment with different brands and types (e.g., strong white, whole wheat, rye) to find what works best for you and your starter. * **Temperature Control:** Ambient temperature plays a huge role in fermentation speed. Invest in an inexpensive kitchen thermometer to monitor your dough's temperature. In a cold kitchen, bulk fermentation will take longer; in a warm kitchen, it will accelerate. You can use a proofing box or even your oven with the light on to create a warmer environment if needed. * **Gentle Handling:** Sourdough dough, especially high-hydration dough, benefits from gentle handling. Avoid aggressive kneading or shaping that can degas the dough too much. The goal is to build strength while preserving the delicate air bubbles. * **Practice and Observation:** Sourdough baking is as much an art as it is a science. Don't be discouraged by initial failures. Each loaf teaches you something. Keep a baking journal, noting temperatures, timings, and observations. This will help you identify what works and what doesn't, refining your process with each bake. The more you practice, the more intuitive the process of how to make sourdough bread at home will become. * **Score with Confidence:** A sharp lame (razor blade) and a confident, swift cut are essential for good scoring. Experiment with different scoring patterns to see how they impact oven spring and aesthetics. A well-placed score helps your bread achieve its maximum potential during baking.

Comparison

FeatureSourdough Bread (Homemade)Commercial SourdoughCommercial Yeast Bread
Leavening AgentWild Yeast & Bacteria (Starter)Often Starter + Commercial YeastCommercial Yeast
Flavor ProfileComplex, Tangy, DeepMilder Tang, Less ComplexYeasty, Simpler
DigestionEasier (Fermentation breaks down gluten)VariableCan be harder for some
Crust TextureThick, Crispy, ChewyOften Softer, Less RobustSofter, Less Crusty
IngredientsFlour, Water, Salt, StarterFlour, Water, Salt, Starter, Yeast, AdditivesFlour, Water, Salt, Yeast, Sugar, Oil, Additives
Process TimeLong (12-24+ hours)Moderate (4-8 hours)Fast (2-4 hours)

What Readers Say

"This guide made learning how to make sourdough bread at home so much less intimidating! My first loaf had an incredible crust and a beautifully open crumb. I can't believe I made something so delicious."

Sarah J. · Austin, TX

"I've tried other sourdough recipes, but this one truly demystified the process. The tips on starter care were invaluable. My starter is now consistently active, and my bread has never been better."

Michael D. · Seattle, WA

"Following these steps, I consistently bake two perfect loaves of sourdough every week. My family loves the fresh bread, and the aroma alone makes it worth the effort. It's truly transformed our kitchen."

Emily R. · Denver, CO

"The instructions are very thorough, though I had to adjust my bulk fermentation time quite a bit for my cold kitchen. Once I got the hang of the timing, the results were fantastic. It's a learning curve, but this guide provides all the necessary information."

David L. · Chicago, IL

"As a gluten-sensitive individual, I appreciate the notes on digestibility. My homemade sourdough is much easier on my stomach than store-bought options. This guide has given me the confidence to bake my own bread regularly."

Jessica M. · Portland, OR

Frequently Asked Questions

What is the most crucial element for successful sourdough bread?

The most crucial element for successful sourdough bread is an active and healthy sourdough starter. A weak or inconsistent starter will not provide enough leavening power, resulting in a dense, flat loaf. Consistent feeding and observation of your starter's activity are paramount to achieving a robust rise and excellent flavor.

Is sourdough bread making difficult for beginners?

While sourdough bread making has a reputation for being complex, it's entirely achievable for beginners with patience and a good guide. The process requires attention to detail and understanding of fermentation, but by breaking it down into manageable steps and learning to read your dough, anyone can learn how to make sourdough bread at home.

How do I know if my sourdough starter is ready to use?

Your sourdough starter is ready to use when it consistently doubles or triples in size within 4-8 hours after feeding, has many visible bubbles, and passes the 'float test' (a small piece of starter floats in water). It should also have a pleasant, yeasty-sour aroma.

What equipment do I need to make sourdough bread?

Essential equipment includes a kitchen scale for precise measurements, a large mixing bowl, a dough scraper, a banneton (proofing basket) or a bowl lined with a floured towel, and crucially, a Dutch oven for baking. A sharp razor blade (lame) for scoring is also highly recommended.

How does homemade sourdough compare to store-bought artisan bread?

Homemade sourdough often surpasses store-bought artisan bread in flavor, texture, and digestibility. You have full control over ingredients, fermentation times, and baking techniques, allowing for a more complex, nuanced flavor profile, a chewier crumb, and a superior crust that is hard to replicate in mass production.

Who should try making sourdough bread at home?

Anyone with a love for baking, an appreciation for natural, wholesome food, and a bit of patience should try making sourdough bread at home. It's particularly rewarding for those who enjoy the process of creating something from scratch and desire a healthier, more flavorful alternative to commercial bread.

Are there any health risks associated with sourdough baking?

There are no significant health risks associated with sourdough baking, provided you maintain good kitchen hygiene. The fermentation process actually makes the bread more digestible for many people and can even enhance nutrient availability. Always ensure your starter smells pleasant and not rancid, and your flour is fresh.

What are the future trends in sourdough baking?

Future trends in sourdough baking include a growing interest in heritage grains, such as Einkorn or Spelt, for their unique flavors and nutritional benefits. There's also an increasing focus on higher hydration doughs for ultra-open crumbs, and experimentation with different fermentation temperatures and starter hydration levels to achieve diverse flavor profiles and textures.

Ready to transform your kitchen into an artisan bakery? By following this comprehensive guide, you now have all the knowledge to successfully make sourdough bread at home. Gather your ingredients, nurture your starter, and embark on this incredibly rewarding culinary journey. Your first perfect, crusty loaf awaits!

Topics: sourdough bread at homesourdough bakingsourdough starterartisan bread recipehomemade bread
Leo List
Brampton weed
Adultwork EstrelaBet Vai de Bet R7 Bet Betão Galera Bet Rainbet Bet9ja Shop SportyBet BetKing Sisal Loto Foot Hollywoodbets YesPlay Odibets RushBet Jugabet BetWarrior BetCity MSport betPawa Fortebet